 |  |  |
 |  |  |
 |  |  |
 |  |
|
|
EVENTS |
|
Events determine how your e-book communicates with your reader at key times. You should customize these screens with your own information.
|
|
Specifying a Splash Screen |
|
|

|
|
|
|
|
A Splash Screen can
appear on your reader's screen when your e-book is launched. You
can design your splash screen with your favorite graphics program, such as
Photoshop, or Windows Paint. The dimensions of the splash screen
are up to you, and it can be in .BMP (bitmap) or .JPG (jpeg) format. To use a splash screen, place a check next to Show splash screen. Click Load image from file and locate your graphic. A preview will be shown to the right of the window. Clicking the Preview button will show your splash screen as it will appear to your reader. You can select from three display intervals:
|
|
Specifying Events On Start |
|
|
|
|
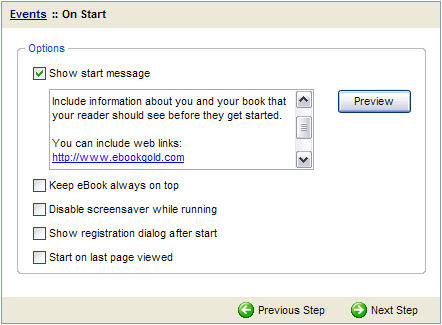
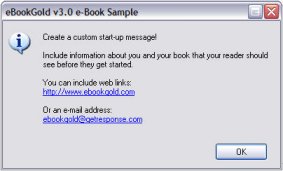
The On Start screen
allows you
specify events that take place when your book is launched by the reader. |
You can customize the message by editing the text box. If you type a URL or e-mail address, it will automatically be displayed as a hyperlink.
|
|
Other options available on this screen are:
|
|
TIP |
If you use the Show start message feature, you should include information about you and your e-book, a link to your web site or order page and your e-mail address. |
|
Specifying Events On Close |
|
|
|
|
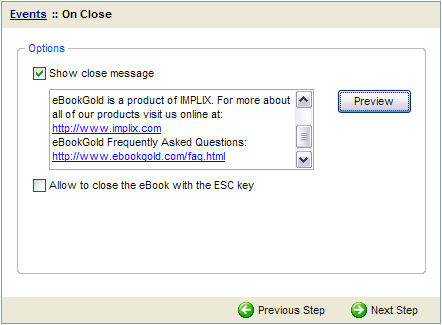
The On Close screen allows you specify events that take place when your book is closed by the reader. Check Show close message if you would like a message to appear on your readers screen when they close your book. You can customize the message by editing the text box. If you type a URL or e-mail address, it will automatically be displayed as a hyperlink.
Click Allow to close the eBook with the ESC key if
your e-book window does not have a close button. |
|
Specifying Security Events |
|
|
||
|
|
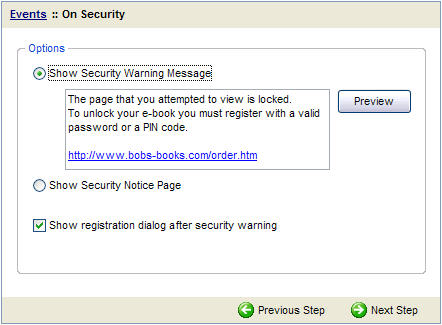
Settings you specify on this
screen will effect your reader when they attempt to view a page you have
marked as secure. In other words, this message will inform them
that the page is locked, and tell them how to purchase or receive a PIN code to view
it. |
|
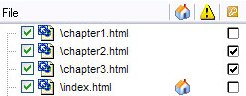
On The Project Files Screen:
|
You select which pages of your e-book are secured on the Project Files screen (see example, left). When a reader attempts to view one of your secured pages, they will be informed that they must enter a PIN code. If you select Show Security Warning Message a message window will appear on their screen. Edit the text box to customize your own message. Information about you, your book and an order page should be included here. If you select Show Security Notice Page, you can design your own HTML page which will appear full screen within the e-book window. NOTE: If you select Show Security Notice Page, you must select the HTML file on the Project Files screen (see example, left). |
|
TIP |
By using a custom HTML Security Notice Page, you can include your own graphics and logos, special offers, plus links to your store. You could also insert a sign-up form to add their e-mail to your mailing list. Visit http://www.getresponse.com to learn how e-mail auto-responders can generate sales. |
|
|
SECURITY |
GENERATE E-BOOK! |
|
Contact us online
Copyright © 2000-2026 by eBookGold. All rights reserved. |